Plot 6 & 7, Prem Nagar Laulai, Chinhat, Lucknow,Uttar Pradesh - 226028 India

How to create a virtual network (VNet) using the Azure portal
How to create a virtual network (VNet) using the Azure portal

2022-10-01
An Azure Virtual Network (VNet) represents your network or environment to run VMs and Applications in the cloud. And also provides an isolated environment for your Azure resources.
Step 1: Sign in to your Azure portal. https://portal.azure.com/
Step 2: Search Virtual Network and select.

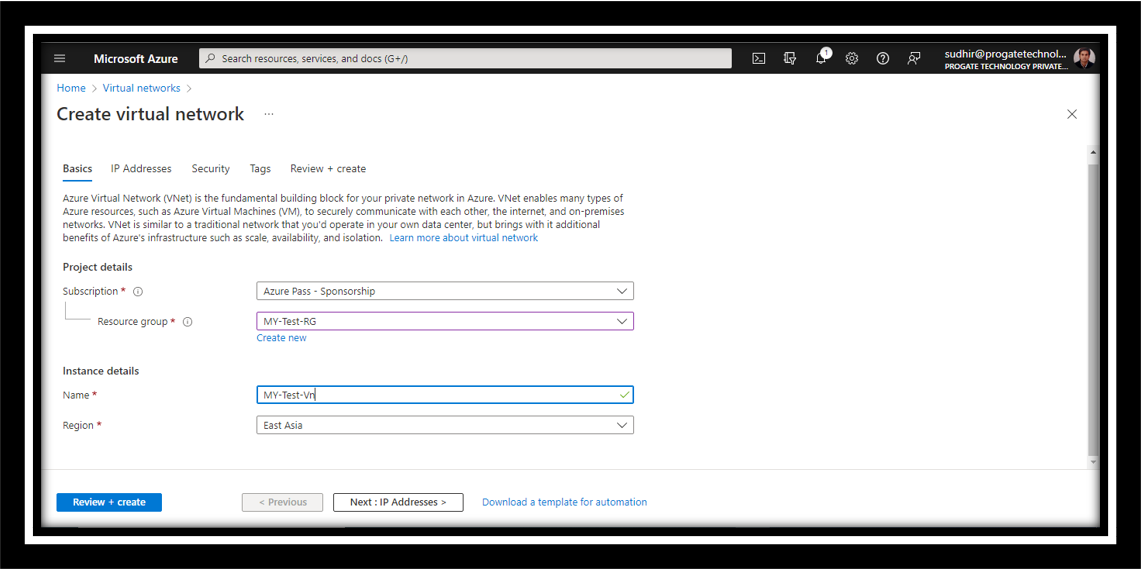
Step 3: Click to create the Virtual Network.
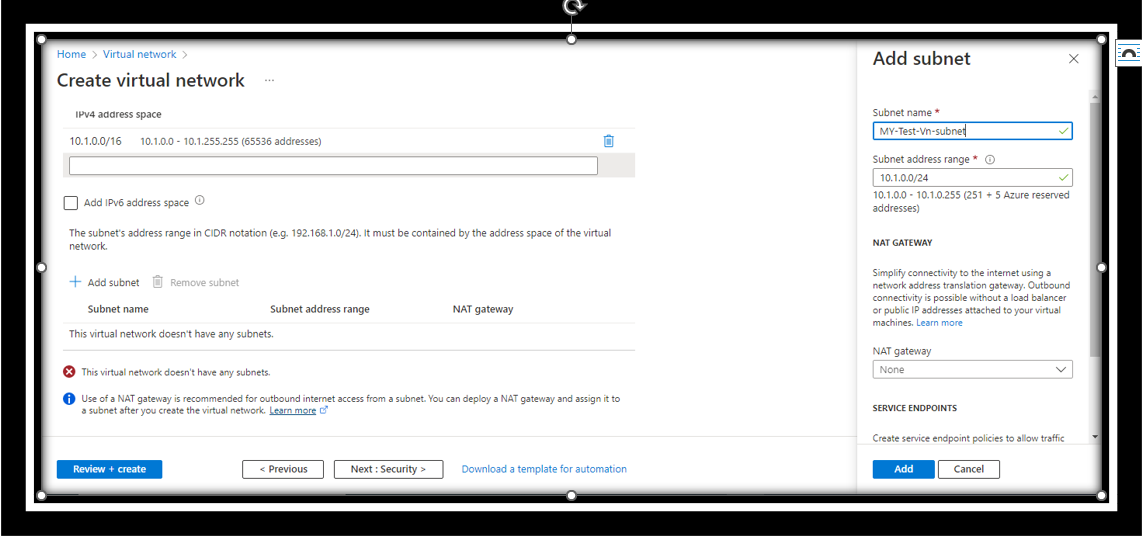
Step 4: I have clearly mentioned the IP Address in each step as per my scenario.
Step 5: Successfully added my IP address and Subnet and click Next: Security.
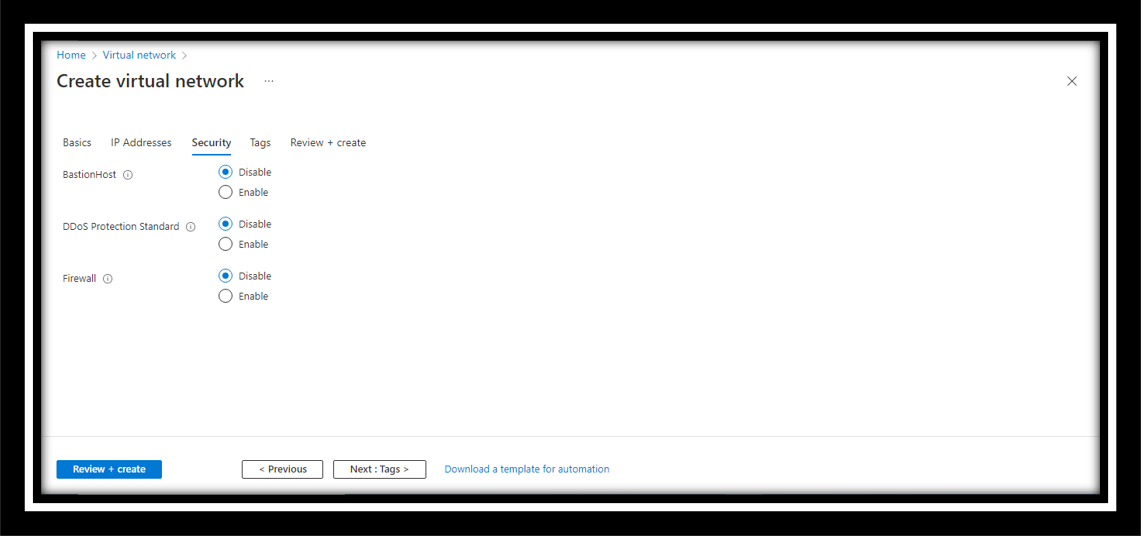
Step 6: Leave it as default and click Review + create.
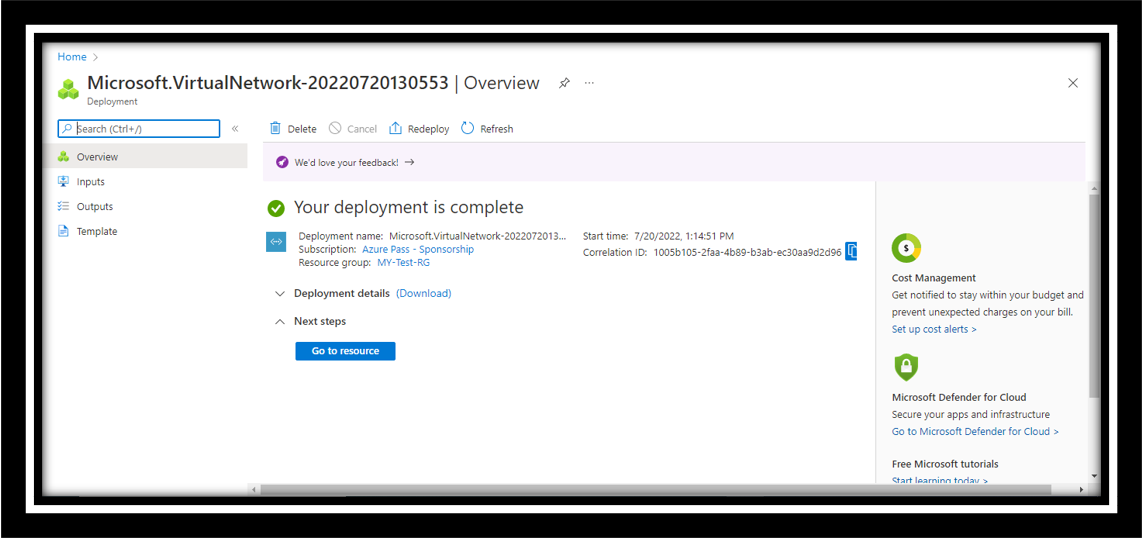
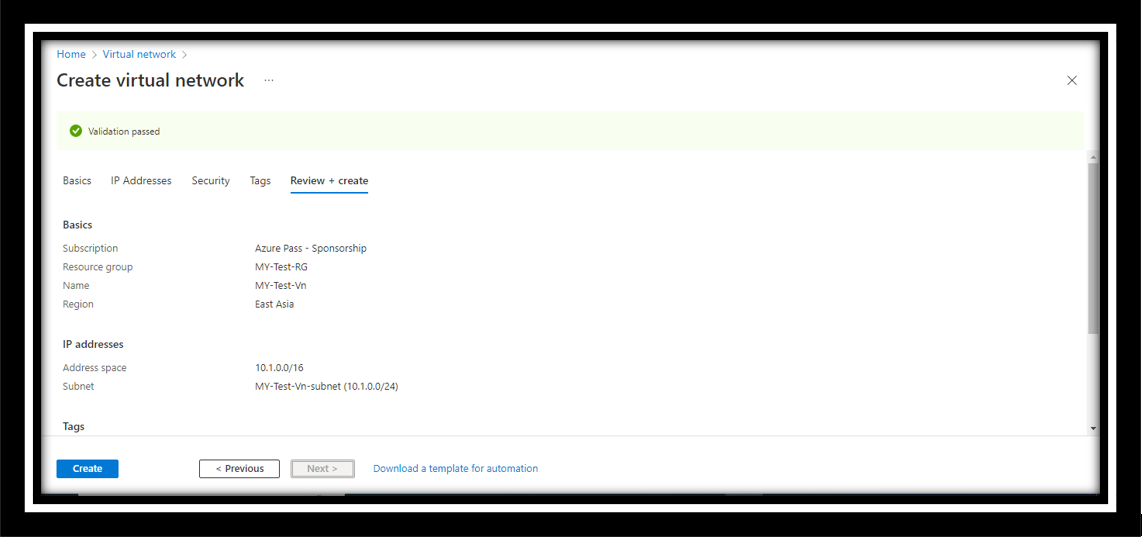
Step 7: Once validation passed just click and create it.
Step 8: Successfully created my Virtual Network (VNet).

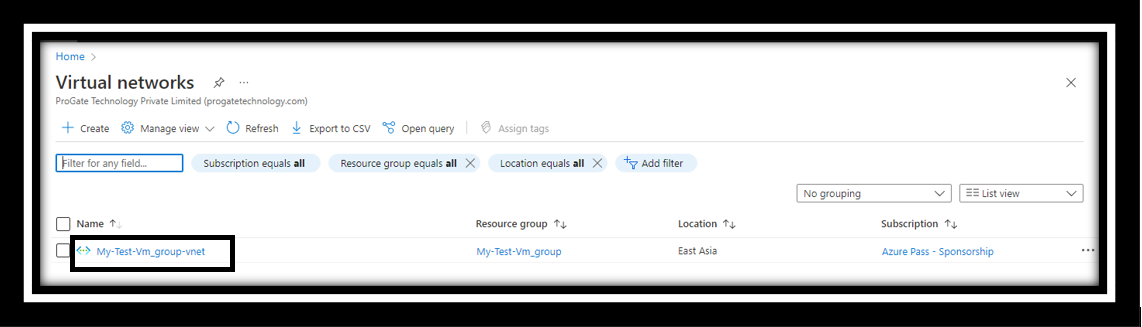
Step 9: Goto Resource and check Vnet.